How to Resize Images for Instagram: Exact Dimensions for 2026
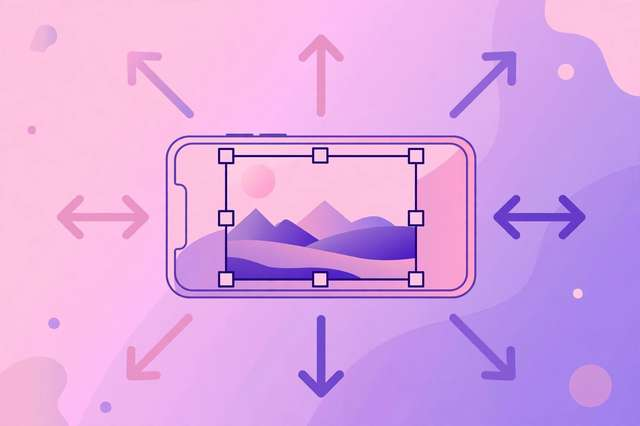
Every Instagram surface has its own ideal image size, and uploading the wrong one means blurry posts, awkward auto-crops, or black bars that make your content look amateur. The fix takes less than a minute once you know the exact dimensions. This guide gives you the precise Instagram sizes for 2026 — square, portrait, and landscape posts, stories, reels, and profile photos — plus a simple resize workflow, cropping tips, and the JPEG-vs-PNG rules that keep uploads crisp.
The exact Instagram dimensions for 2026
Bookmark this table — it covers every surface that matters:
| Surface | Dimensions | Aspect ratio |
|---|---|---|
| Square post | 1080 × 1080 px | 1:1 |
| Portrait post | 1080 × 1350 px | 4:5 |
| Landscape post | 1080 × 566 px | 1.91:1 |
| Stories | 1080 × 1920 px | 9:16 |
| Reels cover / video | 1080 × 1920 px | 9:16 |
| Profile picture | 320 × 320 px | 1:1 |
| Carousel slides | 1080 × 1080 px (square) or 1080 × 1350 px (portrait) | 1:1 or 4:5 |
Two details are worth knowing. First, Instagram displays profile photos as a circle at about 110 pixels, so keep faces and logos well inside the center of that 320×320 square. Second, portrait posts at 1080×1350 take up the most screen space in the feed — they consistently earn more attention than square posts, so prefer 4:5 whenever your composition allows it.
Why the right size actually matters
Instagram recompresses every upload. If you upload a 4000-pixel photo, Instagram downsizes and compresses it on its own terms, often producing softer results than if you resize to 1080 pixels yourself first. Uploading at exactly the target dimensions gives you control: you decide how the pixels are resampled, not an algorithm. Undersized uploads are worse — a 600-pixel image stretched to fill the feed looks visibly blurry, and there is no recovering sharpness after the fact.
How to resize an image for Instagram in 5 steps
- Pick your target dimensions. Decide the surface first — 1080×1080 for a square post, 1080×1350 for portrait, 1080×1920 for a story. Resizing without a target is how images end up stretched or squished.
- Open the free image resizer. Our image resizer runs entirely in your browser — no uploads to a server, no sign-up, no watermark.
- Upload your photo and enter the dimensions. Type in the exact width and height from the table above. If your photo’s aspect ratio does not match, crop first (see the tips below) rather than forcing a mismatched resize.
- Choose your format. Pick JPEG for photos and PNG for graphics with text or logos. Aim for quality around 80–85% for JPEG — the sweet spot between sharpness and file size.
- Download and upload to Instagram. Save the resized file and upload it directly. Because it already matches Instagram’s dimensions, the platform’s own compression has far less work to do.
Cropping tips: get the aspect ratio right
Resizing only works well when the aspect ratio already matches. A 16:9 landscape photo forced into a 1:1 square gets visibly squished — faces widen, circles become ovals. Instead, crop first:
- Crop to ratio, then resize. Set your crop box to 1:1, 4:5, or 9:16 first, position the subject, then resize to the exact pixel dimensions.
- Protect the focal point. When cropping a wide shot to square, keep the subject centered or on a rule-of-thirds intersection — do not let the crop cut through faces or key details.
- Watch the story safe zones. Stories and reels show interface overlays: roughly the top 250 and bottom 250 pixels can be covered by usernames, captions, and buttons. Keep text and faces inside the middle band.
- Carousels lock one ratio. Every slide in a carousel must share the first slide’s aspect ratio, so choose square or portrait before you start and keep all slides consistent.
JPEG vs PNG: which format should you upload?
Use JPEG for photographs. JPEG compression is designed for the smooth gradients of real-world photos, and at 80–85% quality the artifacts are invisible on a phone screen while the file stays small — which also means faster uploads.
Use PNG for graphics, text, and logos. JPEG’s compression smears sharp edges, so text overlays, infographics, and logos look noticeably cleaner as PNG. The files are bigger, but for graphics the crispness is worth it.
Avoid uploading TIFF or BMP. Instagram will convert them anyway, and the huge file sizes just slow your upload. Convert to JPEG or PNG during your resize step instead.
Compress without killing quality
Even at the right dimensions, an oversized file can upload slowly or get aggressively recompressed. Export JPEGs at 80–85% quality — below 70%, banding and blockiness creep into skies and shadows. For PNG graphics, run them through a PNG optimizer to strip metadata and unused colors before uploading; the visual difference is zero and files often shrink by half. One last rule: always resize from your original or highest-resolution source. Resizing an already-compressed image compounds the artifacts, so keep the master file and generate each Instagram size fresh from it.
Frequently asked questions
What is the best image size for Instagram posts?
1080×1080 for square, 1080×1350 for portrait (best for feed visibility), and 1080×566 for landscape. Always upload at these exact dimensions for the sharpest results.
Why do my Instagram photos look blurry?
Usually because the upload was too small and got stretched, or too large and got harshly recompressed. Resize to the exact target dimensions and export JPEGs at 80–85% quality before uploading.
What size should my Instagram profile picture be?
Upload 320×320 pixels, but remember it displays as a small circle — keep the important part of the image centered with clear space around it.
Can I resize images for Instagram without installing anything?
Yes — our free image resizer works entirely in your browser. Upload, enter the dimensions, choose JPEG or PNG, and download. No account needed.
Keep reading
YouTube Banner Size 2026: Dimensions and Free Resizer
The exact YouTube banner dimensions for 2026 — full size, safe area, and device crops — plus how to resize a banner and design tips that work everywhere.
Read more →
How to Remove Background From Image Free (4 Easy Methods)
Remove the background from any image free with 4 simple methods: a free online tool, Photoshop, phone apps, and Canva. Step-by-step guide for crisp cutouts in seconds.
Read more →
Alabama Income Tax 2026: Brackets, Rates, and Free Calculator
Alabama income tax for 2026: illustrative brackets and rates, deductions, credits, a calculation example, and a free calculator.
Read more →