How to Join Multiple Videos Into One Online Free
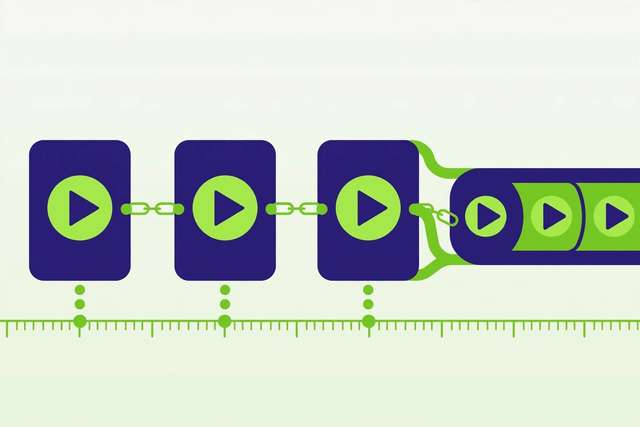
Whether it’s stitching vlog clips into a day-in-the-life video, combining short takes into one reel, or merging lecture recordings into a single file — joining videos is one of the most common editing tasks there is. And you don’t need a video editor to do it.
With our free video joiner, you can merge multiple video clips into one file right in your browser. No Premiere, no DaVinci learning curve, no signup, no watermark — and your footage never leaves your device.
How to join videos online (step by step)
1. Upload your clips. Open the video joiner and drag in all the videos you want to combine. MP4, MOV, and WebM clips all work — you can add as many as you like.
2. Arrange the order. Drag the clips into the sequence you want. This is the moment to think about flow: hook first, context second, payoff last — the same order that keeps viewers watching.
3. Merge. Hit merge and the tool joins the clips into a single video file. A progress bar tracks the process; longer compilations take a few minutes.
4. Download and share. Save the merged video and check the joins play smoothly. It’s a standard MP4 — ready for YouTube, TikTok, Instagram, or sending to anyone.
What joining videos is perfect for
Vlogs and day-in-the-life videos. Phones capture life in fragments. Joining turns twenty short clips into one watchable story.
Compilations and highlight reels. Best moments from a stream, game, event, or trip — merged into one shareable video.
Online courses and lectures. Combine recorded segments into a single lesson file that’s easier to distribute and watch.
Reels, Shorts, and TikToks. Shoot multiple takes or angles, join the winners, trim the rest — quick social content without an editing app.
Tips for seamless merges
Match your clip specs. Clips with the same resolution, frame rate, and codec join cleanly. Mixed specs can cause stuttering or require re-encoding. When in doubt, convert everything to the same MP4 settings first — our MOV to MP4 converter handles the odd ones out.
Trim before you join. Cut the dead air, the “is it recording?” moments, and the accidental pocket footage before merging. Cleaning first beats fixing later.
Watch the audio. Clips recorded in different places have different background noise. It won’t ruin a casual video, but for anything polished, normalize audio levels across clips.
Keep an intro and outro. A 2-second branded opener and a simple end card make a joined video feel like one production instead of a pile of clips.
Joining vs. other ways to combine video
Joining (concatenation) places clips end to end — one plays, then the next. This is what the video joiner does, and it’s the right choice for vlogs, compilations, and course lessons.
Merging side by side puts clips next to each other in one frame (split screen). Useful for comparisons and reactions, but a different tool entirely.
Overlaying (picture-in-picture) layers one clip on top of another. Think reaction videos and tutorials with a facecam corner.
Crossfading blends the end of one clip into the start of the next with a dissolve. Prettier than a hard cut for slideshows and travel videos, but overused in vlogs — hard cuts keep energy up.
For 90% of “combine my clips” jobs, simple joining is exactly right. Save the fancy transitions for the 10% that actually benefit.
Common joining mistakes
Mixing portrait and landscape clips. A vertical phone clip joined with horizontal footage produces jarring aspect-ratio jumps. Pick one orientation per video.
Ignoring audio transitions. A hard audio cut between clips recorded in different rooms is more jarring than any visual cut. Even a 0.2-second crossfade on audio smooths it enormously.
Joining before trimming. Dead air multiplies across clips. Trim each clip’s head and tail first, then join — the result is dramatically tighter.
Planning a joined video
Before uploading anything, sketch the order on paper or in a notes app: hook, context, highlights, payoff, end card. Number your clips to match. This five-minute plan prevents the classic joined-video problem — a meandering middle where the viewer checks out. For talking-head content, record a 3-second slate (“clip 4, take 2”) before each segment; it makes ordering trivial and you trim the slates before the final join. Planned joins look edited; unplanned joins look accidental.
Export settings for joined videos
When the joiner offers export options, match your source: 1080p if your clips are 1080p, same frame rate (30fps is the safe universal choice), and H.264 video with AAC audio in an MP4 container. Upscaling a 720p clip to 4K doesn’t add detail — it just inflates the file. For social platforms, keep the final file under the platform’s limit (TikTok and Instagram handle up to 250MB+ easily; older email attachments cap around 25MB). When in doubt, 1080p H.264 MP4 plays everywhere and looks great.
Frequently asked questions
How do I merge two videos into one for free?
Upload both to /tools/video-joiner/, order them, hit merge, and download the combined file. Free, unlimited, no signup, no watermark.
Can I join videos online without downloading software?
Yes — browser-based joiners process your clips locally on your device. Nothing uploads to a server and nothing installs.
Do the videos need to be the same format to merge?
Matching specs (resolution, frame rate, codec) give the cleanest joins. Convert mismatched clips to the same MP4 settings first for best results.
Will joining videos reduce their quality?
No, when clips match — a good joiner concatenates without re-encoding, preserving full quality.
Keep reading
How to Add Fade In and Fade Out to Audio Online Free
Add fade in and fade out to audio online free. Smooth harsh audio endings and jarring starts in seconds with our browser-based fade editor.
Read more →
How to Convert MOV to MP4 Online Free
Convert MOV to MP4 online free. Turn iPhone MOV videos into universally playable MP4 files in your browser — no signup, no watermark.
Read more →
How to Convert FLV to MP4 Online Free: 3 Easy Methods
Convert FLV to MP4 online free — why FLV is obsolete, 3 free conversion methods that keep your file private, and settings for best quality.
Read more →