How to Compress Images for the Web Without Losing Quality

Slow websites lose visitors. Images are almost always the culprit: a single unoptimized photo can weigh several megabytes, while a compressed version of the same image can be 100KB and look identical. The good news is that compressing images without visible quality loss is easy once you know which settings actually matter.
This guide covers the three decisions that determine your results — format, quality, and dimensions — plus step-by-step instructions for the fastest free method.
Why image size matters more than you think
Every image on a page has to travel over the network before a visitor sees anything. Google found that as page load time goes from 1 to 5 seconds, the probability of a visitor bouncing increases by 90%. Images typically make up 50–70% of a page’s total weight, so they’re the highest-leverage thing you can optimize.
Compression also matters off the web: email attachments bounce back when they’re too big, marketplaces throttle huge product photos, and job portals reject profile pictures over 200KB.
Step 1: Choose the right format first
Before touching quality sliders, pick the format that fits the image type. This single choice often saves more bytes than any other setting:
- Photos and complex images → WebP. At the same visual quality, WebP files are roughly 25–35% smaller than JPEG. Every modern browser since 2020 supports it.
- Photos that must open everywhere → JPEG. Universal compatibility — email, old software, print shops. The safe fallback.
- Logos, screenshots, graphics with text → PNG. Lossless, so sharp edges stay crisp. Much larger files, but quality-preserving for flat graphics.
- Logos and icons for the web → SVG (vector). Not a photo format at all, but for logos it’s infinitely scalable at tiny file sizes.
The single most common mistake: saving a photograph as a PNG. A 5MB photo-PNG often becomes a 300KB WebP with no visible change.
Step 2: Find your quality sweet spot
Compression quality is a tradeoff between file size and visual fidelity. For most photos:
- 90–100% — archival quality. Use only when the image will be printed or heavily edited later.
- 80–85% — the sweet spot for the web. Visually indistinguishable from the original in normal viewing, at a fraction of the size.
- 60–70% — acceptable for thumbnails and social previews where the image is shown small.
- Below 60% — visible blockiness and color banding. Avoid except in extreme bandwidth situations.
The trick is to zoom into the image at 100% and check smooth gradients (skies, skin tones) — that’s where compression artifacts show first.
Step 3: Compress in seconds with a free browser tool
The fastest method: use DollarWise’s free image compressor. It runs entirely in your browser, shows a before/after comparison slider, and lets you tune quality and format:
- Open the image compressor and upload your JPG, PNG, or WebP.
- Set quality to 80% and output format to WebP.
- Drag the before/after slider to verify there’s no visible difference.
- Download the compressed image.
No sign-up, no watermarks, and — unlike most “free” compressors — your photos are never uploaded to a server.
Step 4: Resize before you compress
A 6000×4000 phone photo displayed at 800px wide carries eight times more pixels than anyone will ever see. Resizing before compressing multiplies your savings: shrink the dimensions first, then apply quality compression to the smaller image. DollarWise’s image resizer handles this, including a target-file-size mode for portals with strict limits.
Step 5: Batch the whole folder
If you have dozens of images (a blog migration, a product catalog), convert them in bulk. DollarWise’s image format converter converts multiple images to WebP at once, in your browser, and shows the per-file savings.
Frequently asked questions
How much can I compress an image without losing quality? A quality setting of 80–85% in JPEG or WebP typically reduces file size by 60–80% with no visible difference. Below 70%, artifacts start appearing in smooth gradients and fine detail.
Which format gives the smallest file size: JPG, PNG, or WebP? WebP is usually 25–35% smaller than JPEG at the same visual quality. PNG is the largest of the three (it’s lossless) but best for graphics with transparency. For photos, WebP wins; for universal compatibility, JPEG.
Does compressing images hurt SEO? The opposite — smaller images load faster, and page speed is a Google ranking factor. Just don’t over-compress to the point where images look bad, since that hurts user experience.
Can I compress images without uploading them to a website? Yes. Browser-based tools like DollarWise’s free image compressor process your photos entirely in your own browser — nothing is uploaded to a server, which is also the private option for sensitive photos.
Keep reading

How to Convert Images Between PNG, JPG, and WebP (Free)
Convert images between PNG, JPG, and WebP in seconds. Learn which format to use when, and convert single images or whole batches free in your browser.
Read more →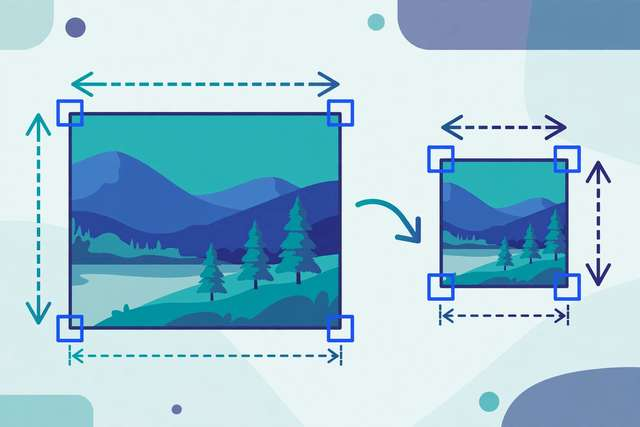
How to Resize an Image Without Losing Quality (Free Methods)
Resize images to exact pixels, percentages, or target file sizes without distortion. Learn the right settings for web, print, and social media.
Read more →
How to Merge PDF Files Online for Free (No Upload Needed)
Merge multiple PDFs into one document for free. Learn the fastest methods — including a private browser-based merger that never uploads your files.
Read more →