How to Install a Blogger Theme Step by Step
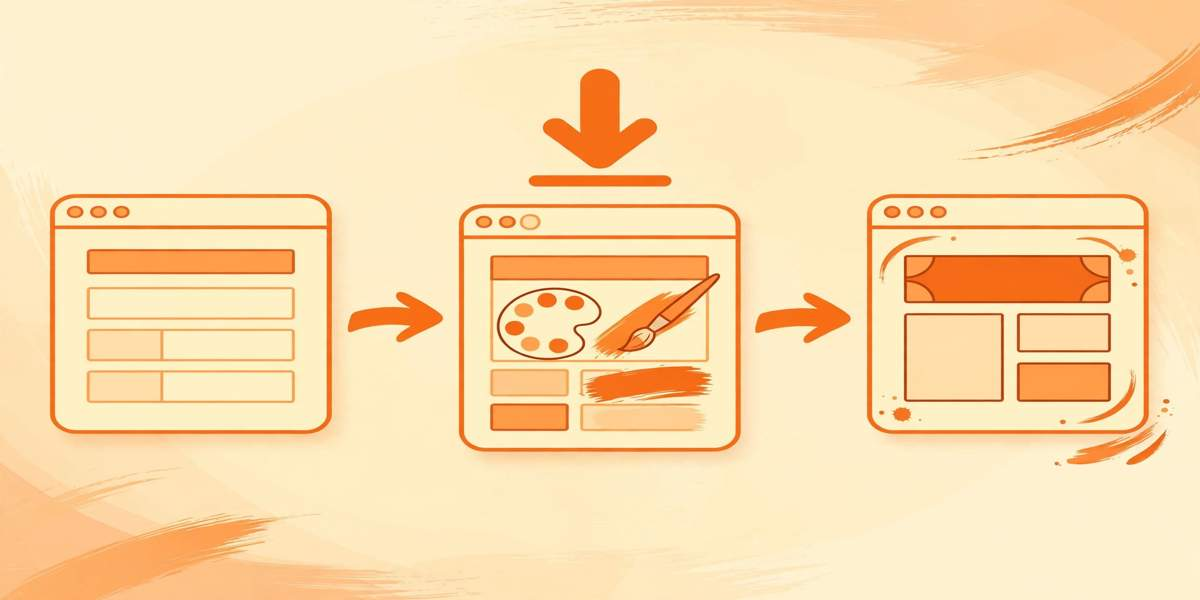
Installing a custom theme is the fastest way to make your Blogger blog look professional. The process takes about ten minutes and needs zero coding — you download a theme file, back up your current one for safety, upload the new file, and adjust a few settings. Do it in the right order and there’s no risk of losing anything.
What you need before you start
You only need three things, and you probably have all of them already.
- Your Blogger dashboard. Sign in at blogger.com and open the blog you want to restyle.
- A theme XML file. Download it from a trusted source — Google’s official theme gallery, or reputable providers like SoraTemplates and Templateify. The file ends in
.xml. Some downloads come zipped, so unzip first. Avoid random re-upload sites; free themes from shady sources sometimes hide spam links or broken code. - Ten unhurried minutes. Don’t do this while you’re about to publish a post. You want a calm window so you can check each step.
A note on mobile: over half of blog readers arrive on phones, so the checks at the end of this guide matter just as much as the install itself.
Step 1 — back up your current theme
This is the step people skip and later regret. Your backup is a one-click time machine: if anything goes wrong, you restore this file and your blog is exactly as it was.
- In the left sidebar of your Blogger dashboard, click Theme.
- Click the small arrow (▼) next to the Customize button.
- Choose Backup from the menu.
- Click Download theme. A file like
theme-2026-10-01.xmlsaves to your computer. - Move it somewhere safe — a “blog backups” folder works well. Name it clearly, e.g.
blog-backup-before-new-theme.xml.
Keep this file. If a new theme misbehaves, the restore process takes under a minute.
Step 2 — upload the new theme file
With your backup safely stored, installing the new theme is nearly the same menu:
- Stay in the Theme section and click the arrow (▼) next to Customize again.
- This time choose Restore.
- Click Upload and select the
.xmlfile you downloaded from your theme provider. - Blogger processes the file for a few seconds, then shows a preview. Do not click Save yet.
If the upload fails here, it’s almost always one of two things: you selected a .zip instead of the unzipped .xml, or the XML file is corrupted. Re-download from the provider’s official site and try again — the common-errors section below has the full rundown.
Step 3 — preview and adjust the layout
The preview is your safety net. Use it before committing.
- Check the homepage on desktop width. Do your post titles, images, and sidebar (if any) render correctly?
- Open a single post. Some themes style the homepage beautifully but look off on individual post pages.
- Look at your widgets. Blogger shows a “missing widgets” notice if your old theme had gadgets the new one doesn’t support — don’t save until you’ve decided whether you need them back.
- Test a search if your blog uses search, and click a few navigation links.
Many third-party themes come with their own documentation — often a link in the download or a setup guide on the provider’s site. If the theme includes special features like a featured-post slider or social icons, this is where you configure them, usually under Layout after installing.
When the preview looks right, click Save.
Step 4 — fix the mobile settings
This step trips up more beginners than the upload itself. Blogger has a mobile-theme setting that can silently override your new design on phones.
- Go back to Theme and click the gear/settings icon (⚙) or scroll to the Mobile section, depending on your dashboard version.
- If you see an option like “Yes. Show mobile theme on mobile devices” — turn it off (select “No”).
- Why: that setting forces Blogger’s stripped-down default mobile template, hiding your custom theme from phone visitors. Modern themes are already responsive, so you want them to handle mobile themselves.
Now grab your phone and open your blog. Scroll through a few posts. If the layout looks intentional and readable — no giant text, no overlapping boxes — you’re good.
Step 5 — restore your gadgets and tweak the details
A new theme resets some layout elements, so spend a few minutes putting your house back in order. Go to Layout and re-add essentials: an About text, social links, a search box, and your AdSense gadgets if you run ads. Then check Settings → Search preferences to confirm your meta description survived the swap, and use Theme → Customize to set your title font, colors, and background so it feels like yours.
Common errors and how to fix them
“The theme must be a well-formed XML document.”
This is the most common upload error. It usually means the file was damaged during download or you’ve selected the wrong file. Re-download from the official provider, make sure you’re uploading the .xml (not the .zip), and try once more. If it persists, the provider’s file may genuinely be broken — contact their support or pick another theme.
“Widget id already exists” or gadget errors Your saved gadgets clash with gadget IDs inside the new theme. The fix: remove the conflicting gadgets under Layout, then upload the theme again.
Blog looks broken after saving Restore your backup immediately — Theme → arrow → Restore → Upload your backup file — and your blog returns to normal. Then investigate: was the theme actually compatible with your Blogger version, and did you follow the provider’s setup docs?
Theme looks fine on desktop but weird on mobile You probably left Blogger’s mobile theme setting on. Go back to Step 4 and disable it, then clear your phone browser’s cache before rechecking.
Images or fonts missing Some themes reference assets hosted on the provider’s server. If the provider moved or deleted them, images break. Stick with themes from providers that have been around for years, and prefer ones that bundle their assets.
Frequently asked questions
Will installing a new theme delete my blog posts?
No. Your posts, pages, comments, and followers live in Blogger’s database, separate from the theme. The theme only controls appearance. Your layout gadgets may need re-adding, but your content is untouched.
Can I go back to my old theme?
Yes — that’s exactly what the backup in Step 1 is for. Go to Theme → arrow → Restore → Upload, select your backup XML, and your old design returns instantly. This is why you never skip the backup.
Are free Blogger themes safe?
Themes from Google’s official gallery and long-running providers like SoraTemplates or Templateify are generally safe. The risk comes from random download blogs and file-sharing links, which can bundle hidden spam links or scripts. When in doubt, download from the provider’s own site and scan the XML before uploading.
Do I need to know HTML or CSS to install a theme?
No. Installing is purely clicking through menus — backup, restore, upload, save. HTML/CSS only helps later if you want to customize beyond what the theme designer offers.
Recap
Back up your current theme, upload the new .xml file, preview before saving, disable Blogger’s override mobile setting, and rebuild your gadgets. That’s the whole process — ten careful minutes, and your blog has a completely new look. Keep that backup file somewhere safe, and you’ll never be afraid to experiment again.